Support

COMtrexx® Business

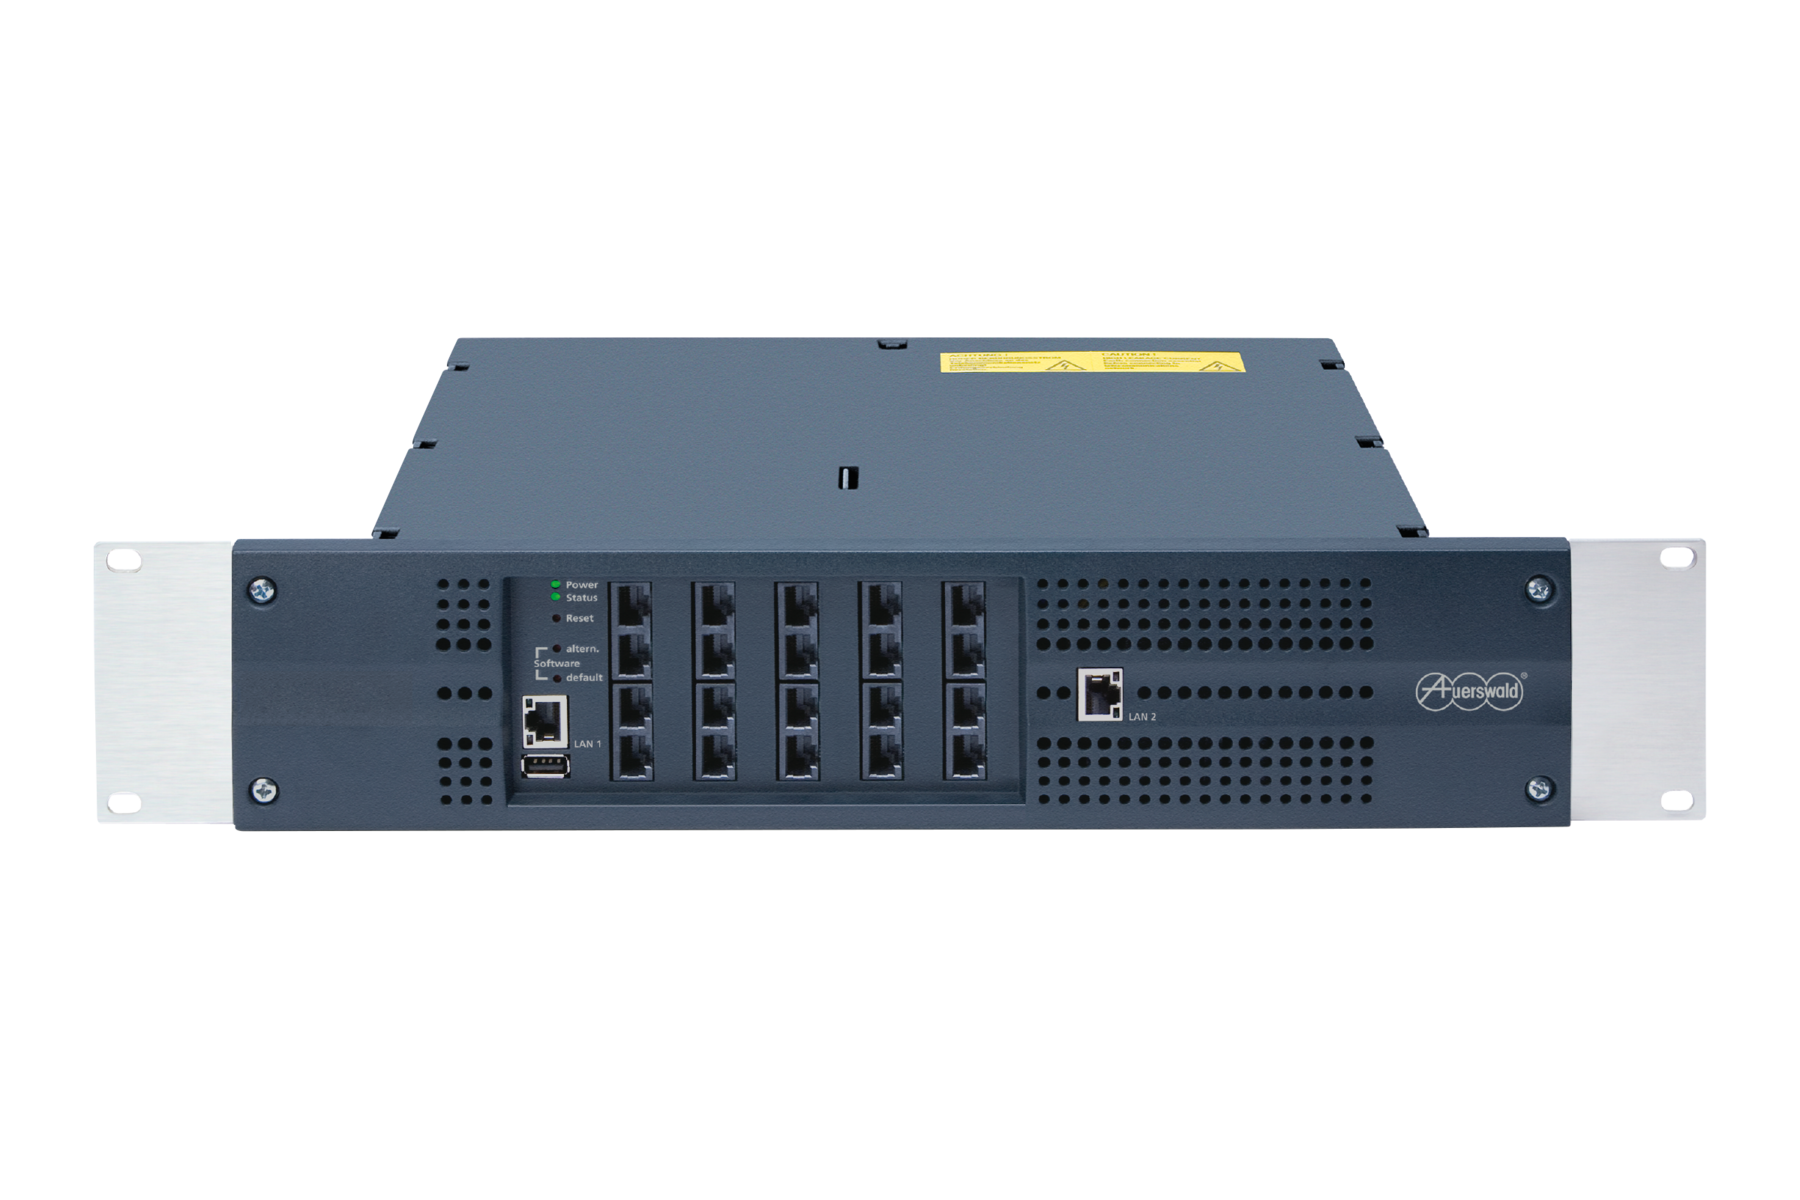
COMtrexx Business is a manufacturer-assembled solution for up to 150 users with up to 40 simultaneous calls. The optionally integrated gateway supports up to 20 analogue terminals. With the expansion option of an additional Ethernet port, the system becomes a real all-rounder.

Downloads

Designation
Operating system

V8.3.5.8676 (Stable) | 07.03.2024
Windows Server 2022
Windows Server 2019
Windows Server 2016
Windows Server 2012 R1 (limited range of functions/eingeschränkter Funktionsumfang)
Windows Server 2012 R2
Windows 11
Windows 10 32-/64-Bit
macOS Ventura (13.2)
macOS Monterey (12.6.3)
macOS 14 "Sonoma"
macOS 13 "Ventura"
macOS 12 "Monterey"
macOS Sonoma (14)
Windows 10 32-/64-Bit (ab Version 1903)
Windows 10 (ab Version 1903)
V7.8.0.8453 (Stable) | 24.01.2024
Windows 10 32-/64-Bit
Windows Server 2022
macOS High Sierra (10.13)
macOS Mojave (10.14)
Windows Server 2012 R1 (limited range of functions/eingeschränkter Funktionsumfang)
Windows Server 2019
Windows Server 2012 R2
Windows Server 2008 R2 Service Pack 1
Windows Server 2016
Windows Server 2008 R2
Windows 7 32-/64-Bit SP1
Windows 11
macOS Catalina (10.15)
macOS Ventura (13.2)
macOS Monterey (12.6.3)
8.3.01 (Stable) | 04.12.2023
Google Android
Apple iOS
1.4 (Stable) | 12.12.2023
Google Android
Apple iOS
5.5.15 (Stable) | 19.07.2023
Windows 11
Windows 10 32-/64-Bit
Windows 8.1 32/64 Bit (Windows RT is not supported/wird nicht unterstützt)
Version 2.2.3 (Stable) | 21.03.2024
V1.4.4.3 (Stable) | 26.07.2023
Windows 10 32-/64-Bit
Windows 7 32-/64-Bit SP1
Windows Server 2008 R2
Windows 2012 Server
Windows 2012 Server R1
Windows 11
Windows Server 2022
Windows Server 2012 R2
V 2.4.2.36 (Stable) | 26.07.2023
Windows 10 32-/64-Bit
Windows 8 / Windows 8.1 (32-Bit/64-Bit / Windows RT wird nicht unterstützt)
Windows Server 2012 R2
Windows Server 2012
Windows 2012 Server R1
Windows Server 2019
Windows Server 2016
Windows 2012 Server
Windows Server 2008 R2
Windows 7 32-/64-Bit SP1
Windows Server 2012 und Windows Server 2012 R2
Windows 11
Windows Server 2022
Show less Show more

Documentations

LanguagesCurrent version
Advanced Information V09 02/2024 Online PDF
V09 02/2024 Online PDF
COMmander/COMpact PBX as a/b gateway V02 11/2022 PDF
V02 11/2022 PDF
V02 11/2022 PDF
COMtrexx Control Center - Operation Manual V05 01/2024 Online PDF
V05 01/2024 Online PDF
Privacy Policy V07 01/2024 PDF
COMtrexx Control Center - Privacy Policy V03 12/2023 PDF
Instructions V05 11/2023 PDF
Statements of conformity V04 10/2022 PDF

Advanced Information

General information

Help/Instructions for COMtrexx from firmware version 2.2


New descriptions

COMtrexx Flex

New COMtrexx hardware.


Changed descriptions

Outgoing mail server

Adjustments and notes in the SMTP server and sender environment.


COMmander/COMpact PBX as a/b gateway

General information

Instructions for COMmander/COMpact PBXs as a/b gateway on a COMtrexx


Changed descriptions

Overview of Functions

Information on the firmware version added.

Configuration of Subscribers

Information on the setting of exchange line authorisation added.


Instructions

General information

Help/Instructions for COMtrexx Bsuiness from firmware version 2.0


Editiorial changes

Links to COMtrexx support and COMtrexx help with improved and comprehensive information.

Additional languages.


Statements of conformity

Standards:
- EN 55032:2015/A11:2020 supersedes EN 55032:2015
- EN55035:2017/A11:2020 supersedes EN 55024:2010+A1:2015

Privacy Policy

For the following products:

  • COMtrexx Advanced
  • COMtrexx Business
  • COMtrexx Flex
  • COMtrexx Next
  • COMtrexx VM Hyper-V
  • COMtrexx VM VirtualBox
  • COMtrexx VMware ESXi

For the following firmware:

  • V2.2

Language:

  • German
  • English
  • French

FAQs

Note: If logs of a COMtrexx are required for diagnostic purposes by the support, you will receive a cfc file that enables the recording of certain system processes.


Setting up Wireshark logging in the COMtrexx


  1. Import the cfc file under Administration > Service > Logging > Import.
  2. Activate the logging under Logging activated.
  3. Select Logging system > PCAP format (wireshark).
  4. Save the changes.
(Missing image for answer with ID 45031)

Performing Wireshark logging

  1. Open the Run dialogue (Windows + R).
  2. Start Wireshark with the following command wireshark.exe -i TCP@IP_PBX:42231
    example wireshark.exe -i TCP@192.168.0.240:42231.

Wireshark starts with a new user interface

(Missing image for answer with ID 45033)

Note: To limit the file size for a longer recording, the maximum size of the files can be set in the recording options.

  1. Open the recording options under Recording > Options > Export.
  2. Configure the destination folder and file name for the recording under Open.
  3. Activate the file size limitation under Automatically create a new file... > after > 20Megabyte.
(Missing image for answer with ID 45035)

Numbering and date/time are then appended to the file names: COMtrexx-Log_00001_20220404103804, COMtrexx-Log_00002_20220404104014

Error messages on the SoftPhone

  • 400 - Bad Request - Provisioning in the system is deactivated. This function must be activated for successful use of the COMfortel SoftPhone.
  • 404 - Not Found - The phone does not exist in the system or no template has been assigned to it.
  • 477|480|60 - Send failed - The telephone system cannot currently be reached via any of the Auerproxy servers because it is not currently logged on to any Auerproxy.
  • 495 - unknown - The phone is no longer present on the system.
  • 502 - Bad Gateway - The telephone system is not currently logged on to the Auerproxy (either no Internet connection or Auerproxy deactivated in the PBX).

Important: The COMfortel SoftPhone is available licence-free for a limited period of time. The COMfortel SoftPhone can also be used in the tryout mode in the COMtrexx. For permanent use, please contact your dealer or system partner.


Configuring the use of the COMfortel SoftPhone in the COMtrexx


  • Requirement: Firmware from 1.6


  1. Activate the proxy service to use the COMfortel SoftPhone under Administration > VoIP > Proxy server for COMfortel SoftPhone > Use proxy
(Missing image for answer with ID 44782)
  1. Set up the phone and assign it to a user under Telephones > Assignment > +New
(Missing image for answer with ID 44784)

Note: Softphones are very often not tied to a location and are therefore created by default without a location. The correctly assigned location is necessary, among other things, so that the PBX can properly initiate an emergency call.

  1. Enter an e-mail address for the transmission of the registration information.
(Missing image for answer with ID 44787)

Install Softphone in the device

The installation file for the COMfortel SoftPhone can be found here: COMfortel® SoftPhone

COMfortel SoftPhone Mobile: The clients are installed via the Google Play Store or Mac App Store.


Enter user name and password in the softphone

(Missing image for answer with ID 44789)

Note: The registration information for the COMfortel SoftPhone is emailed to the user when the phone is set up. Sending can be restarted later (e.g. after changing the user):

(Missing image for answer with ID 44791)

Note: The registration information can be copied here:

(Missing image for answer with ID 44793)

In principle, PBX Call Assist 5 can still be used. However, if the software assurance is not extended, the scope of features will be significantly limited: neither the Microsoft Teams app nor the latest versions of the mobile apps will be useable. In addition, systems without software assurance do not receive bug fixes and security updates, and there is no access to subsequent releases with new functions.

The price for software assurance will be around 20% of the full license price per user and year.

Yes, this will be possible. Additional costs will arise though if the software assurance is resumed after a break. We will provide more detailed information as soon as the software assurance prolongation is available in Q1/2024.

Due to ever-increasing IT security requirements and new specifications from providers, Auerswald cannot guarantee that all telephones from other manufacturers can be put into operation and used permanently with the full range of functions. Especially with older third-party telephones, which no longer receive firmware updates from the respective manufacturer, functions can only be supported to a limited extent or not at all.

Recommended action for systems possibly affected by hacker attacks:

  1. Deactivate all port forwarding to the ICT system!
  2. Check the log and make sure that the logins are traceable
  3. Change the username, PIN and admin password
  4. Check whether there are newly created sub-admins, users, participants or groups and change the passwords
  5. Change passwords for public VoIP providers
  6. Check call deflection


Check the following points for all profiles and properties (users, participants, groups, etc.):

  1. Check the dialling privileges
  2. Check parallel call
  3. Check call deflections
  4. Check voicemail boxes, check activation of remote control and change PINs
  5. Check the deputy functions of the voicemail boxes and the registered destinations
  6. Check Follow-Me settings


Check other configurations:

  1. Check whether remote access by telephone (switching functions remotely by telephone) is active. Change PINs or, if unused, switch them off
  2. Check automatic reception, check activation and registered destinations
  3. Check FMC/call through functions, check users and dialling privileges
  4. Check entries in the IP release list


When using Auerswald IP system telephones with integrated voicemail:

  1. Check the access data, change the password
  2. Check the destinations for call deflections
  3. Check the voicemail boxes, check activation of remote control and change PINs

Requirements:

PBX firmware 8.2 or newer

  • COMpact 4000
  • COMpact 5x00(R)
  • COMmander 6000
  • COMtrexx firmware 1.6.1 or newer

COMfortel WS-500x firmware 2.48 or newer

  • Alarm-Messaging or Alarm-Messaging-Location Licences in the DECT Manager

To use the alarm-messaging or alarm-messaging-location features, the provisioning file for the COMfortel IP DECT system must be supplemented in the telephone system.

Switching on the function:

<!-Switch on alarm messaging and location for all handsets--->.

  <oper name="set_hs_aml" value="@">
   <param name="LocationAML" value="1"/>
   <param name="MessagingAML" value="1"/>
  </oper>

OR

<!-- for individual handsets -->

  <oper name="set_hs_aml" value="IPUI des Handsets">
   <param name="LocationAML" value="1"/>
   <param name="MessagingAML" value="1"/>
  </oper>

Activate alarm server certificate:

  <oper name="set_uci">
   <param name="mosquitto.listener.enabled" value="1" />
  </oper>

Release of the ring tones in the COMfortel DECT handset:

  <settings version="1.0" productID="e2">
   <param name="AmlGlobal.0.HottestAlertNameHigh" value="High prio"/>
   <param name="AmlGlobal.0.HottestAlertNameMid" value="Medium prio"/>
   <param name="AmlGlobal.0.HottestAlertNameLow" value="Low prio "/>
  </settings>

If SIP text messages are to be displayed (e.g. with the call systems GIRA 834 Plus and Hospicall P3 or P7), the following must be added:

<!-- Set display name, priority, display duration, message memory duration and ringtone. -->

   <param name="SipProvider.0.AML_TitleText" value="GIRA Rufsystem"/>
   <param name="SipProvider.0.AML_Prio" value="3"/>
   <param name="SipProvider.0.AML_PresentationTimer" value="10"/>
   <param name="SipProvider.0.AML_TTL" value="3600"/>
   <param name="SipProvider.0.AML_AlertInfo" value="msg_melody_mid"/>

Assigning the AM and AML licenses

Download PDF (German) for setting up the messaging interfaces for the COMfortel® IP-DECT system and the COMfortel® D series via COMtrexx® autoprovisioning

Workaround for the COMfortel IP-DECT system

With firmware 2.53 the number of AM and AML licenses present in the COMfortel IP DECT system is checked. If no licenses or less licenses than handsets are active in the system, in rare cases an error message appears in the handsets after some time. In addition, this instruction saves the manual assignment of AM and AML licenses to the handsets in the DECT Manager.
You can remedy this with this workaround:
Please create a new template for COMfortel WS-500 in the phone system. Then click on Edit.
In the provisioning file, search for „<!—Enable AML for all connected handsets".

Change these parameters:

<param name="LocationAML" value="0"/>
<param name="MessagingAML" value="0"/>

In the PBX, assign the provisioning file to the DECT manager. Perform provisioning. Open the provisioning file again.

Now the tag must be commented out:
Please cut out „-->“ in the first line.

<!-- Enable AML for all connected handsets -->
<oper name="set_hs_aml" value="$(m5x0.ipui)">
   <param name="LocationAML" value="0"/>
   <param name="MessagingAML" value="0"/>
</oper>

And add at the end of the tag

<!-- Enable AML for all connected handsets
<oper name="set_hs_aml" value="$(m5x0.ipui)">
   <param name="LocationAML" value="0"/>
   <param name="MessagingAML" value="0"/>
</oper>
-->

Perform provisioning.

Subsequently, in the DECT Manager under

Settings -> Handsets

Edit the appropriate handsets and enable and save messaging:

Messaging -> Yes


Setting up the alarm-messaging or alarm-messaging-location function via provisioning

Voraussetzungen:

  • PBX Call Assist ab Version 5
  • .net Framework ab Version 4.8 am UCServer
  • PBX Call Assist 5 UCServer mit Internetzugriff zu Microsoft Diensten wie graph.microsoft.com und login.microsoftonline.com
  • Ab Office 365 E3 mit Teams, oder vergleichbar
  • Zugriff auf Azure Active Directory
  • Übereinstimmung der Benutzer in der UCServer Verwaltung und im Azure Active Directory.
  • API Berechtigungen im Unternehmen (tenant), zu gewähren sind (Admin und User consent) für die Integration PBX Call Assist 5 in Teams
  • admin consent: Zustimmung erforderlich zum Schreiben von Präsenzen
  • user consent: Zustimmung erforderlich zum Lesen von Präsenzen

Vorgehensweise:

  • Installation von PBX Call Assist 5 als Neuinstallation oder Update
  • Tenant-ID im Microsoft Azure Portal auslesen
  • Im Azure Portal „User consent und Admin consent“ zulassen
  • UCServer Verwaltung öffnen > Services > Integration in MS Teams
(Missing image for answer with ID 44493)

Aktivieren Sie die Funktion und tragen Sie die Microsoft Teams Tenant ID ein.

Erteilen Sie nach dem Login die Zustimmung des Benutzers und Administrators:

(Missing image for answer with ID 44495)

Hinweis: Bitte beachten Sie, dass bei Passwortänderungen oder für ein abgelaufenes Passwort des Administrator- oder Benutzerkontos, welches für den Admin oder User Consent verwendet wurde, die Berechtigung im UCServer erneut ausgestellt werden muss, um die Funktionalität sicherzustellen.

Bereitstellung der APP:
Im PBX Call Assist 5 Installationspaket finden Sie im Unterordner "MS-Teams" die PBX Call Assist 5 Manifestdatei "AppManifest.zip". Diese kann vom Administrator im Microsoft Teams Admin Center hochgeladen werden und installiert die aktuellste Call Assist App für Microsoft Teams

Nutzung in Microsoft Teams:
Nachdem die PBX Call Assist App für Microsoft Teams vom Administrator im Microsoft Teams Admin Center freigegeben wurde, steht die App allen Mitarbeitern der Organisation im Microsoft Teams App Store unter "Für Ihre Organisation entwickelt" zur Verfügung und kann einfach zum Microsoft Teams Client hinzugefügt werden:

(Missing image for answer with ID 44497)

Der Benutzer meldet sich mit seinen Benutzerdaten (UCServer) an.

Die Service URL entspricht der Adresse des UCServers im Netzwerk. Auf einem lokalen System verwenden Sie http://localhost:7224, bei einem entfernten System http://ip-adresse:7224

(Missing image for answer with ID 44499)

Danach steht die PBX Call Assist App dem Nutzer zur Verfügung:

(Missing image for answer with ID 44501)

From Q1/24 onwards, it will be possible to extend software assurance beyond January 1st, 2025.

The COMfortel SoftPhone can only be used if the internal registrar is set to LAN1.